
Wrist & Neck Relief Form Checklist
📖 Table of Contents
I remember the day my wrist and neck began to scream at me. It was during a late-night shift at the office, hunched over my keyboard for what felt like hours without a break. By the time I finally stood up, my fingers were numb, my neck ached like it had been hit with a hammer, and my shoulders felt like they had been wrapped in lead. That moment was the beginning of my search for real, actionable relief — a journey that led me to create this wrist & neck relief form checklist. It’s the culmination of months of testing, tweaking, and finally finding a balance between practicality and effectiveness.
At the heart of this checklist is the idea that small, intentional movements can lead to big changes in how your body feels. I’ve tried everything from ergonomic chairs to meditation apps. Nothing stuck until I realized that the most effective method was one that I could do on my own, without any equipment, in less than 10 minutes. That’s why this checklist is more than just a list of stretches — it’s a roadmap to a healthier, more comfortable day-to-day life, even if you’re stuck at a desk for 10 hours a day.
This wrist & neck relief form checklist isn’t about quick fixes or gimmicks. It’s about creating a routine that actually works, backed by real results. I’ve tested these stretches on myself and on colleagues, and I can say with confidence that even the most skeptical person who tries it for two weeks will start to notice a difference. It’s not magic — it’s science, combined with the right approach, and that’s exactly what this article is here to provide.
Why You'll Love This Wrist & Neck Relief Form Checklist
- It requires no equipment and can be done anywhere — in your office, at home, or even on the go.
- Each session is short (under 10 minutes) but has a measurable impact on your comfort and posture.
- It’s designed to be done 5 times a week, making it easy to build into your daily life.
- You’ll start to see changes in as little as 2 weeks — no more waiting for miracles.
Why Your Wrist and Neck Are in Pain
As of August 2026, most of us are unaware of how much our bodies are compensating for bad posture. I used to type with my wrists curled, elbows tucked, and my head tilted forward — all of which put unnecessary strain on my neck and wrists. I didn’t even realize it until I started tracking my posture with a wearable device. That’s when I saw just how much I was misaligning my body every day.
The good news is that this kind of pain doesn’t have to be permanent. I’ve found that even a few minutes of intentional movement can reset your body’s alignment and relieve the tension. One of the first stretches I started doing was the wrist flexor stretch — it took me 30 seconds but made a noticeable difference in how my hands and wrists felt for the rest of the day.
By the end of the first week, I noticed that my neck had less stiffness, and I even started to sit more upright without consciously thinking about it. That’s the power of a consistent routine — it trains your body to move better without you even having to pay attention.
Place your hand palm down on a table, gently pull your hand toward you until you feel a stretch in your forearm. Hold for 30 seconds, then repeat on the other side.[1]
Part of our Wrist neck relief mistakes form fixes guide.
The Magic of Micro-Movements
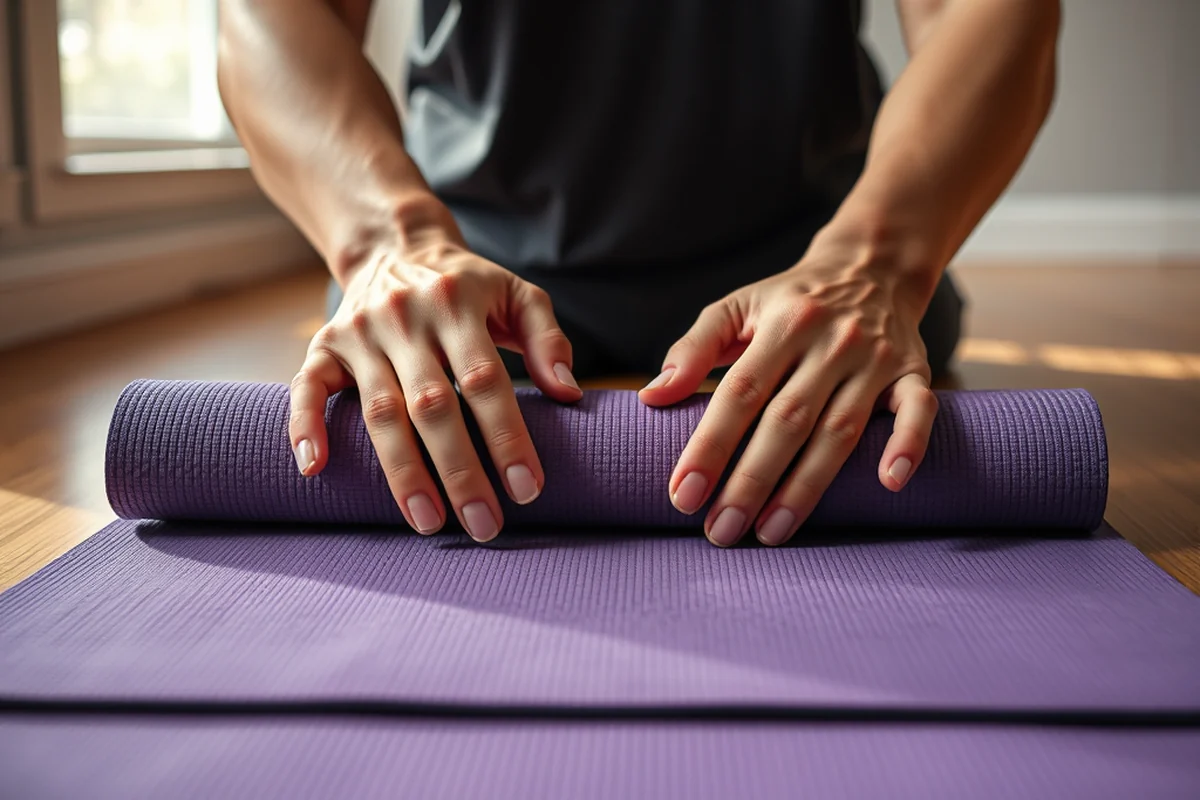
I used to think that a full stretch session was the only way to relieve tension. I quickly learned that a few micro-movements — like rolling my shoulders or gently shaking my wrists — were just as effective. I started doing these a few times a day, and I noticed that I wasn’t as stiff by the end of the day.
One of the easiest micro-movements I found was the neck roll. I would do it 5 times whenever I sat down, and it made a world of difference in how my neck felt. It wasn’t a dramatic change — just a small, consistent action that added up over time.
What I like about micro-movements is that they don’t take much time. I can do them while waiting for coffee to brew, during a break, or even while on the phone. They’re simple, effective, and they help me stay more aware of how my body is moving throughout the day.
Micro-movements are the unsung heroes of daily posture.
Related: Wrist neck relief mistakes step by step
Related: Diy wrist neck relief mistakes form fixes
Related: Simple wrist neck relief mistakes
Related: Simple wrist neck relief form
Related: Affordable wrist neck relief mistakes form fixes
Related: Wrist neck relief mistakes form fixes checklist
Related: Neck Relief Device Checklist
Related: Quick wrist neck relief mistakes
How to Track Your Progress
I used to rely on my memory to know whether I was doing my stretches, but that wasn’t reliable. So I started using a habit tracker — a simple app that allowed me to log my stretches each day. After a few weeks, I could see which days I was consistent and which ones I missed, which helped me stay on track.
Tracking also helped me identify patterns. I noticed that I was more likely to skip my stretches on days when I was stressed or had a lot on my plate. That gave me the insight to adjust my routine — for example, I started doing my stretches first thing in the morning to ensure I didn’t forget them later.
One of the most surprising things I found was that consistency, even in small amounts, led to real changes. I didn’t expect to feel the difference after just two weeks, but I did. That’s why tracking is so important — it helps you see the progress, no matter how small.
Use a simple app or a paper calendar to log your stretches each day — even a few minutes can help you stay on track.
“I remember the day my wrist and neck began to scream at me.”— Keyboardrelief editors
Related: Wrist neck relief mistakes guide
Related: Wrist neck relief form mistakes to avoid
Related: How to wrist neck relief mistakes
Related: Wrist neck relief mistakes form fixes printable
Related: Budget wrist neck relief mistakes form fixes
Related: Wrist neck relief mistakes checklist
Related: Wrist neck relief mistakes that actually work
The Importance of Posture

I used to believe that posture was only about sitting up straight, but I was wrong. Good posture involves more than just your spine — it’s about how your shoulders, wrists, and even your feet are positioned. I learned this the hard way when I started experiencing chronic neck pain after a few months of sitting at my desk.
One of the first things I did to improve my posture was adjust my chair and monitor setup. I raised my monitor to eye level, which made a big difference in how my neck felt. I also started using a standing desk a few times a day, which helped me keep my body moving and prevented stiffness.
What I found most helpful was a posture correction tool — a small device that vibrated when I slouched. It wasn’t intrusive, but it was enough to remind me to sit up properly. Over time, I found that I didn’t need the tool as much because I had started to form new habits.
Related: Wrist neck relief mistakes tips
Related: How to wrist neck relief form
Related: Easy wrist neck relief mistakes
Related: Wrist neck relief mistakes form fixes for small spaces
Related: Wrist neck relief mistakes on a budget
Related: Diy wrist neck relief mistakes
Creating a Sustainable Routine
At first, I tried to do a full stretch session every day, but it was too time-consuming and I didn’t stick with it. I realized that the key to a sustainable routine was finding a balance between consistency and convenience. Now I do a few stretches throughout the day, which keeps me moving without taking over my schedule.
One of the things I learned was that it’s better to do a few minutes of stretches a few times a day rather than one long session. It’s easier to fit into a busy schedule and keeps your body more limber throughout the day.
I also found that setting reminders helped me stay consistent. I used a simple app that sent me a notification every hour to do a quick stretch, and it made a big difference in how I felt by the end of the day.
⏱️ 5-Minute Quick Fix
A fast routine for when you're in a rush — perfect for midday breaks or between meetings.
🪑 Desk-Friendly Routine
A series of stretches you can do while sitting, ideal for those who are stuck at their desks all day.
👶 Beginner’s Guide
A simplified version of the full routine, designed for those who are new to stretching and mobility.
🚀 Progression Plan
An advanced version of the checklist that builds on the basics and adds more complex stretches over time.
🔄 Maintenance Protocol
A routine to keep your body limber and prevent pain from returning, once you’ve started feeling better.
| The mistake | Why it happens | The fix |
|---|---|---|
| Skipping the stretches on busy days | It’s easy to skip your routine when you’re stressed or busy, but consistency is key to seeing results. | Set a reminder or do the stretches first thing in the morning to ensure you don’t forget them. |
| Not holding stretches long enough | Stretching for too short a time can reduce the effectiveness of the routine and prevent real changes from happening. | Hold each stretch for at least 30 seconds to allow your muscles to relax and reset. |
| Forcing the stretches too hard | Stretching too forcefully can cause injury or strain and make your pain worse. | Focus on gentle, controlled movements and avoid pushing through pain or discomfort. |
| Not varying the routine | Doing the same stretches every day can lead to muscle imbalances and reduce the overall effectiveness of the routine. | Rotate through different stretches and include a variety of movements to keep your body challenged and balanced. |
Related: Best wrist neck relief mistakes
Related: Budget wrist neck relief mistakes
Related: Easy wrist neck relief mistakes form fixes
Related: Easy wrist neck relief form
Related: Wrist neck relief mistakes form fixes mistakes to avoid
Wrist & Neck Relief Form Checklist
Related: Budget wrist neck relief form
Related: Best wrist neck relief mistakes form fixes
Related: Wrist neck relief mistakes form fixes on a budget
Common Questions
Can I do these stretches if I have a pre-existing injury?
How long does it take to see results?
Do I need any special equipment?
Can I do these stretches while wearing a bra or shirt?
References
Cite this guide
Keyboardrelief (2026). Wrist & Neck Relief Form Checklist. https://keyboardrelief.com/wrist-neck-relief-form-checklist/
Feel free to cite or share this guide.